Sailing Essentials
Important Items to Bring on Your Boat
Packing for a boating trip is not unlike packing for an airplane ride. It begins with creating a list, packing your bags, and then anxiously hoping you haven’t forgotten anything!
If you’re new to boating, use our list below as a starting point, noting that the items you’ll wish to bring will vary based on the length of your trip and the current and forecasted weather conditions.
Looking for a new boat? Check out our current listings for sale.
Here’s a list of items that you absolutely need to have with you every time you’re out on a boat.
Passport & Boating Documents
Make sure your insurance papers, boating license, and registration are all on board, as well as some form of photo ID, particularly your passport if you will be boating internationally. Read about what type of boating licenses are required.
Soft-sided Luggage
Try and get everything into soft-sided luggage like a duffel bag or backpack in order to maximize storage space on board. Hard luggage is more difficult to fit into closets and cabinets.
Smaller Grab-Bag
Items of importance, such as your wallet, cash, keys, passport, prescription meds, credit cards, and phone should all be stored in a small bag that is easy to grab and go in the case of an emergency. Also include in this bag a printed list of emergency contact names and phone numbers, your insurance policy number and number, and doctor names and numbers.
Sunscreen
We hope this one goes without saying! Always pack more sunscreen than you ever think you’ll need. Choose non-oil-based sunscreens in order to protect your yacht’s upholstery and wooden finishes as much as possible. Lip balm with SPF and insect repellent are also recommended.
Sunglasses
While sunglasses are recommended for passengers, they are essentially a must-have for drivers. The sun can be particularly blinding while boating as the rays reflect off the water. Sunglasses also shield a boat operator’s eyes from splashing water so they can stay focused on the task at hand.
Polaroid sunglasses with UV protection can further reduce the amount of glare coming into your eyes from reflected light, allowing your iris to stay open wider and improving your sight.
Some sailors even swear by having goggles on board for when the weather turns really bad and you need protection from heavy rains but without the shaded lenses.
Ziploc Bags
Ziploc bags or dry bags are great for more than just keeping money and electronics dry during day trips to the beach. You can also use Ziploc bags for dirty or wet clothes, and for sealing opened bags of snacks! Never underestimate all the uses there are for Ziploc bags on any type of trip.
Prescriptions & Seasickness Pills
If you’re prone to seasickness – and many people are no matter how often they go boating – consider packing seasickness or anti-nausea medication. Remember to also bring enough of your prescription medications for longer trips.
First Aid Kit
Always make sure your watertight or waterproof first aid kit is fully stocked before heading out, and includes all the usual suspects such as gauze, bandages, aspirin, antibiotic ointment and gloves. Flares, matches, a water-resistant flashlight and fire extinguishers are also a must.
When you buy a yacht through Van Isle Marina, our yacht brokers will make sure you know about all of the safety gear you are required to have on board.
Headlamp
Speaking of flashlights, bring an additional light on board that is kept separate from the first aid kit. Even better, a headband light for hands-free chart navigation and engine space inspections is extremely handy. Don’t forget to bring extra batteries!
Entertainment
Consider bringing DVDs and CDs with you to enjoy, which are more reliable than streaming services and don’t require special devices that need recharging. By all means, bring your tablet and smartphones too – most yachts will have a charging station or two. Also remember games, playing cards, pens and paper, and a few books and magazines.
Binoculars and cameras can also come in handy; binoculars for birdwatching and cameras for sunsets.
Sailing Knife and Marlinspike
For safety and convenience, consider carrying a knife and marlinspike secured to your belt with a lanyard. The knife is handy for cutting through sailing rope and the marlinspike can help pry open strands of rope for splicing. Folding knives with a three-inch blade and marlinspike work in a pinch, but a straight blade rigging knife and a separate marlinspike in a sheath is better in emergencies.
Personal Flotation Devices (PFDs)
Make sure there are enough PFDs for everyone on board, in the appropriate sizes. Inform everyone on board where the PFDs are stowed.
Hats
Bring more than one cap or hat on board to protect you from the sun, cold, and rain. Consider a large-brimmed hat for sunny weather, and a breathable, microfiber material cap for nighttime watches to keep you warm.
Spare Clothes
Without overpacking to the extreme, we recommend bringing spare clothing, like a spare pair of shoes and a backup bathing suit. In the event that things get wet (as they happen to do aboard a boat!) and don’t have a chance to dry out, having extra sets will certainly increase your comfort on board.
Rainy Weather Gear
When it rains, you’ll want more than just a hat. For longer boating trips, bring a raincoat, bib-pants, thick socks, and sea boots geared to the conditions in which you’ll be cruising. Whether it’s warm or cold weather, go for modern microfiber synthetic layers, including thermal underwear and a neck warmer for better comfort.
Gloves
If you’ll be sailing and using sailing lines, gloves are going to be a must to prevent blistered, rope-burned hands. Full-length sailing gloves cover everything except the tips of your fingers and provide the best protection when working sailing sheets, halyards, and anchoring rode.
Personal Locator Beacon
A Personal Locator Beacon or Personal Emergency Position Indicating Radio Beacon (EPIRB) is a small hand-held device that allows you to transmit a distress signal directly to the authorities in case of an emergency. Your yacht comes equipped with an EPIRP, but personal EPIRPs are available as added peace of mind.
Some types of these devices are available with strobe lights, which can greatly assist during man-overboard situations.
Hand-held GPS Unit
A hand-held GPS unit could be handy for anyone acting as backup to the skipper, or for use on shore for day hikes, for example.
Food
Unless you plan on catching your own food every day that you’re on board, make sure your galley is stocked with enough sustenance for the duration of your trip, or enough to get you to the nearest port.
Fishing Tackle
Does your tackle box need a top up?
Items to Leave on Your Boat
Some items only have to be packed onto your boat once, when you first acquire your boat:
- Kitchen supplies like cookware, utensils, cups, plates, bowls etc
- Beach towels and bathing towels
- Cleaning supplies (vacuum cleaner and mop)
- Toiletries
When it comes to packing for a boating trip, we hope the above list helps you determine what is most important to bring. Many of the yachts for sale at Van Isle Marina come with more than enough storage space for you to leave some of these items on board year-round. We also have storage lockers available to further assist with your boating supplies while you moor with us.
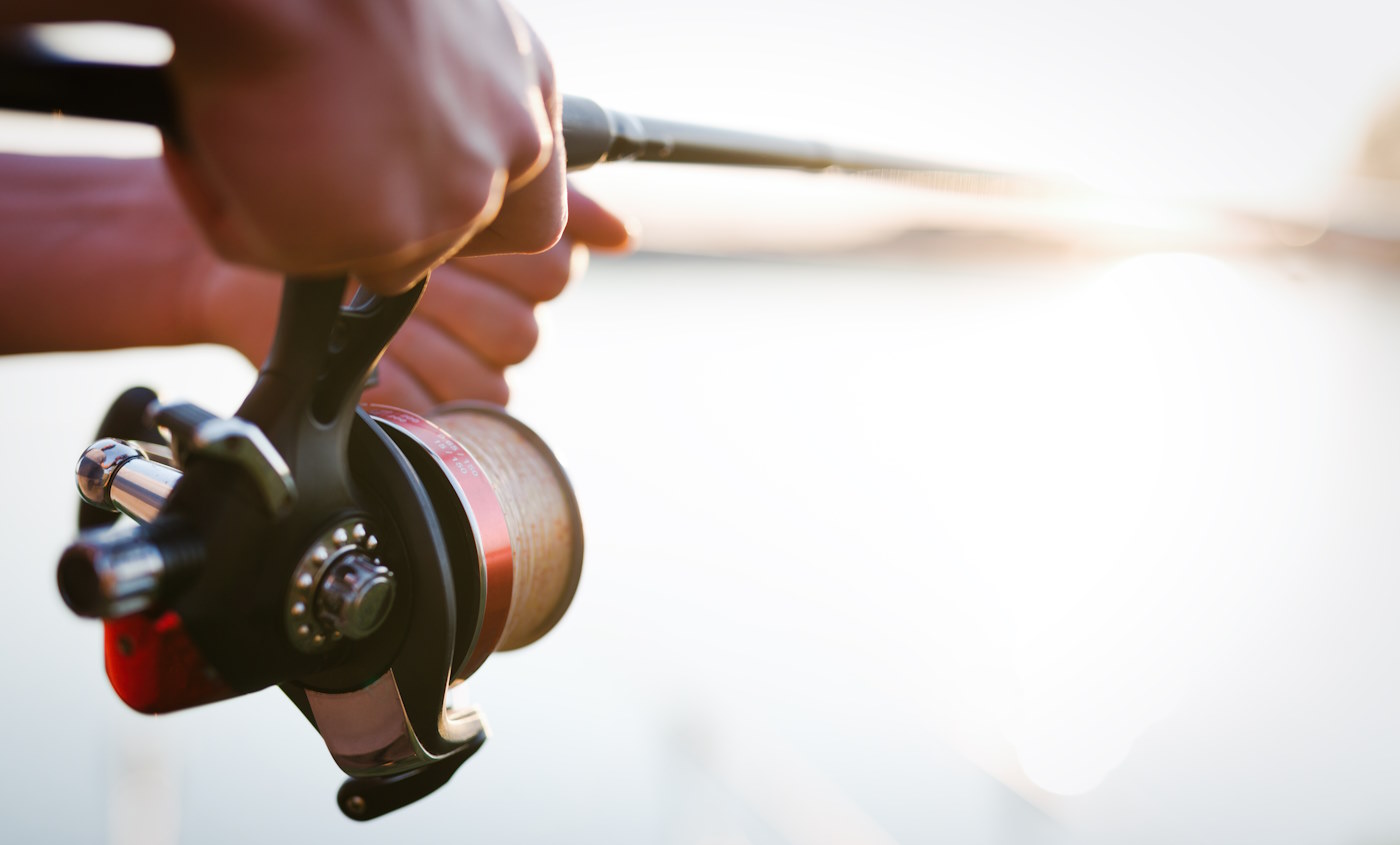
Baitcast vs Spincast vs Spinning Reels
Key Differences and Pros / Cons of Each Type of Fishing Reel
In addition to the various types of fishing to choose from, there are also various types of rods and reels to choose from depending on what you’re trying to catch and where you’re trying to catch it. A reel is simply a mechanical device attached to a fishing rod that stores, releases, and collects the fishing line via a rotating arm.
As with the lures vs live bait debate, most fishermen will have a preference for a particular type of reel, depending on the location, targeted species of fish, their budget and their experience level. To learn more about what will work best for your fishing adventures, read on.
What is a Baitcaster Reel?
A baitcaster reel sits on top of the rod so the spool is parallel to the rod. It works well with monofilament, fluorocarbon and braid line types. The line on a baitcaster reel comes off the spool directly in line with the rod while the line of a spinning reel is let off away from the rod.
When you’re baitcasting, the spool moves with the casting of the line, so it requires a more experienced angler to keep things under control. Otherwise, the spool ends up moving faster than your casting line is flying, and the line bunches up into a knotty mess. This is called backlash, or a bird’s nest and can be reduced or prevented with practice. It’s the main reason why baitcaster reels are recommended for advanced fishermen. Although it’s a more advanced type of reel, being able to use multiple types of lures, bait and lines make a huge difference in fishability.
How to Use a Baitcaster Reel
A baitcaster reel is best for strategically dropping your line in a more crowded area, or in a hot spot like a riverbed. Depending on the quality, it’s also powerful enough to be used as an offshore fishing reel. When using a baitcasting reel, the dominant hand holds the rod to cast, and then the angler switches hands to reel in the cast, so the dominant hand controls the reel as well. Experienced anglers will use their thumb to brake and control the line as they are casting to prevent backlash or nesting.
When using a baitcaster reel, you release the line when you press the button. This also immediately drops your bait. To cast, you lock the line with your thumb on the reel. To end your cast, turn the reeling handle (this pops the button back up) or put your thumb back on the spool.
Baitcaster Reel Pros
- Durable
- Lightweight, low-profile
- Can hold heavier line
- Can hold more line
- Stronger drag capabilities
- Can handle heavier and powerful fish
- Can handle heavier fishing lines and lures
- Highly customizable
Baitcaster Reel Cons
- More expensive
- Higher learning curve; requires more experience
- Backlashes (sudden bunching of the line in the spool)
- Can be difficult to switch between left and right orientations
What is a Spincaster Reel?
Spincaster reels are the simplest type to use, making them well-suited for testing the waters. Spincast reels are also a great budget-friendly option for beginning anglers or children.
Spincaster reels have a button that allows you to toggle between locked and free-spool. They also have a drag adjustment on the underside of the reel or beside the reel handle. This drag adjustment mechanism controls how much resistance a fish will feel when it’s on the line.
The mechanisms are all hidden inside a metal or plastic casing, which means any tangles that occur can go unnoticed and become a true mess. It also means that water and debris gets trapped inside, shortening the life of the reel. Because they cost as little as $20 each, this reel type may only last for a season or two.
How to Use a Spincaster Reel
When using a spincaster reel, just press and hold the button to keep the line locked while casting. Once your casting reaches its peak, release the button to release the line. The weight of the lure and your casting position creates the momentum the line needs and the line will fly wherever the tip of your rod is pointing.
Spincaster Reel Pros
- Budget-friendly
- Easier to use
- No backlash (sudden bunching of the line due to a spool moving too quickly)
- Suitable for lightweight lures and lines
- Easier to cast near the shoreline or under overhanging trees with a sidearm cast
- Easy to switch left and right-hand orientations
- Easy to add more line capacity with an additional reel
- Great for in shore fishing
Spincaster Reel Cons
- Bulkier reel
- Not as strong or durable
- Line can tangle, twist or tear (the dreaded wind knots)
- Less drag ability (refers to how much resistance a fish feels when it pulls on the line. The tighter the drag is set, the more resistance the fish feels)
- No distance control
- Not designed to last multiple seasons
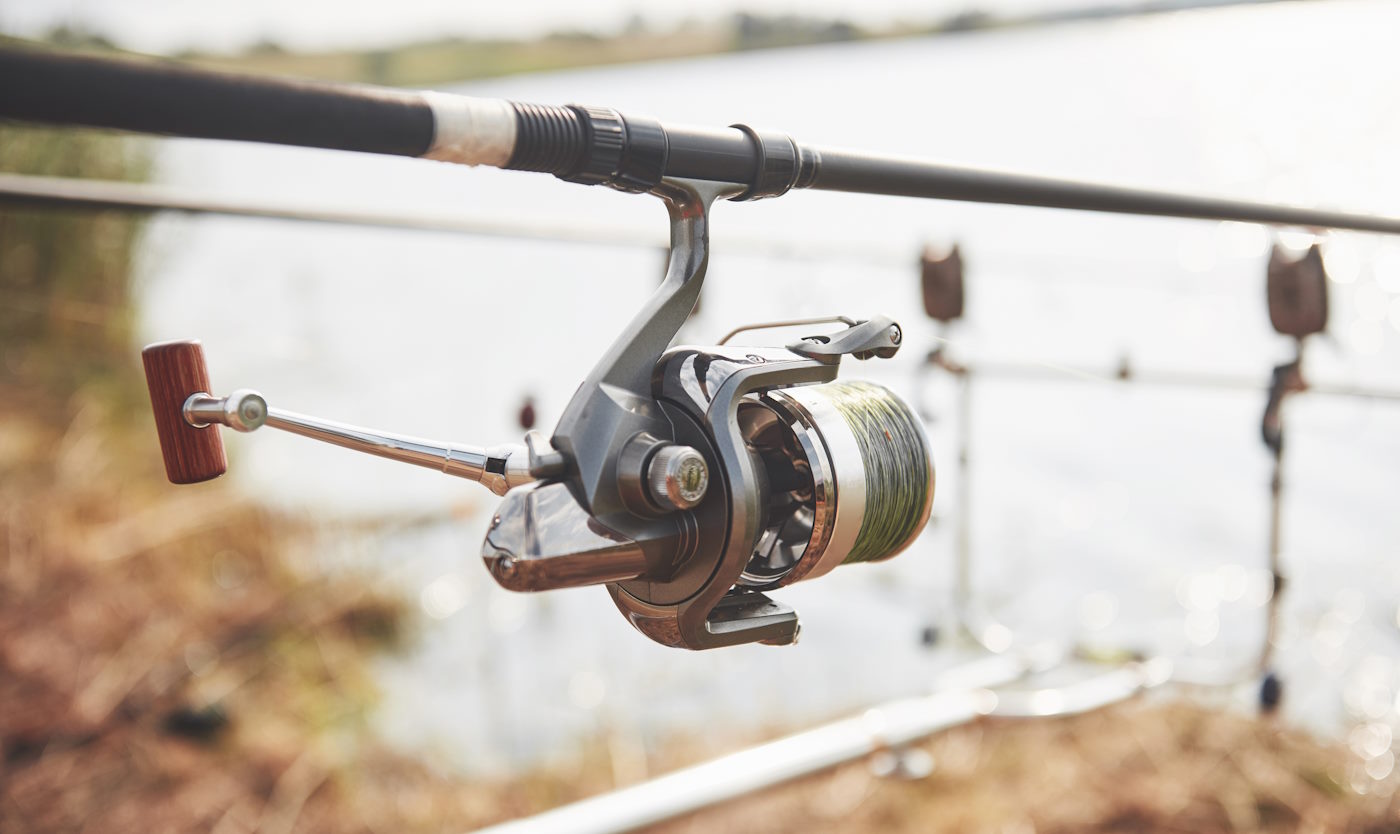
What are Spinning Reels?
Not to be confused with spincaster reels, spinning reels are preferred by anglers all over the world but are still easy enough for beginners to use. Unlike the spincaster reels, spinning reels are designed with an open face and a metal bail to prevent the line from nesting. The reel is mounted on the bottom of the rod for better balance when casting and the drag adjustment is located on top of the reel. A high-quality ultralight spinning reel will have you fishing like a pro in no time.
How to Use a Spinning Reel
A spinning reel and rod allows for a lot more control than a basic spincaster reel and rod. To unlock the line, you disengage the metal bail and hold the line with your index finger. This will prevent unspooling and tangling before you’ve even started to cast.
Then, when you’re casting, release your index finger and let the line go once you reach the top of your cast. To prevent unspooling, move the bail back to the starting position by turning the crank once you’re done your cast.
Spinning Reel Pros
- Higher quality
- Reel position at the bottom of the rod creates better balance
- More control over casting distance and speed
- More control over drag
- Ideal for placing in a rod holder (set and forget)
- Lower cost than a baitcaster reel
- Easy to switch between right-handed and left-handed use (the crank arm can be moved to either side)
- Can be used with light lures and bait
- Suited for multiple habitats
Spinning Reel Cons
- Doesn’t perform as well or cast as far with heavier lures
- The bail must be handled properly to prevent tangles
- A more expensive reel, starting at $50+
- Not meant for reeling in larger fish like salmon or halibut
At the end of the day, deciding between a baitcaster vs spincaster vs spinning reels will depend on your specific situation and ability as well as what you’re trying to catch.
For more information on any of these different fishing reel types and their uses, we recommend chatting with other fishermen, including us here at Van Isle Marina or the clerks at the tackle shops. There are also many helpful videos and infographics online to help you get started.
Looking for a new boat or yacht to start casting lines from? Van Isle Marina has a wide range of yachts for sale moored at our docks. Take a look at our selection online or come and see us in person. We are located at 2320 Harbour Road in Sidney, British Columbia near Swartz Bay Ferry Terminal.